Content & Settings
Once a template has been created and opened from Manage Templates, the edit screen is where the template content is defined, the layout is set up, and a preview using live data from Epos Now can be viewed.
This page covers the content and settings side of the editor. Use Layout & Preview for the positioning and preview steps.
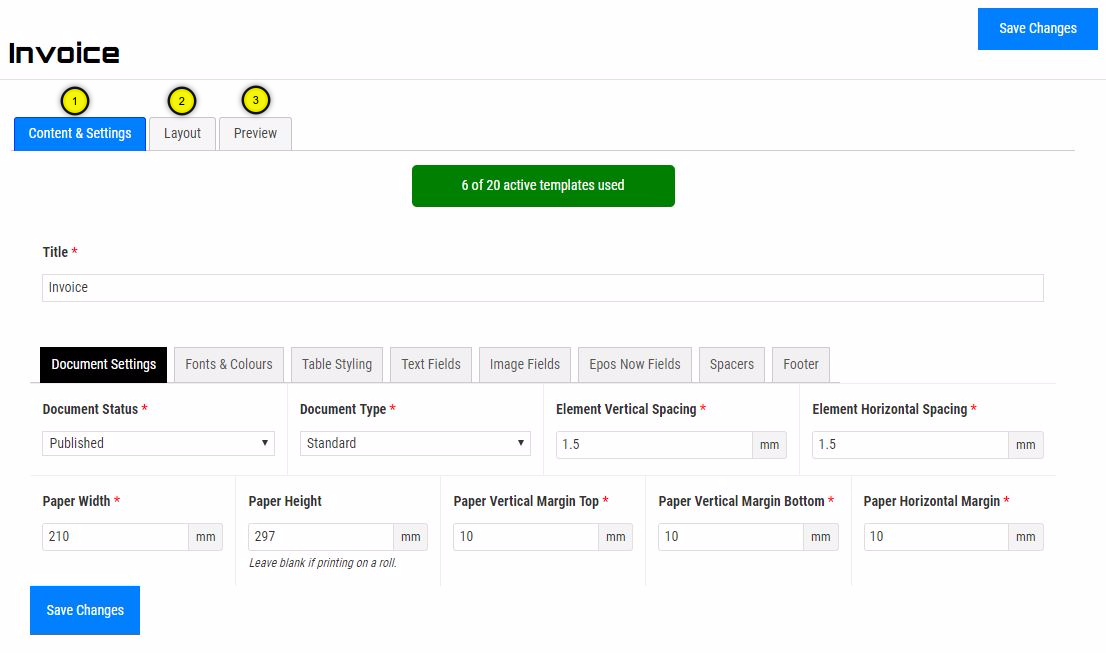
1. Content & Settings Main Tab
This tab has all the settings for defining the size and content of the template.
2. Layout Main Tab
This tab has the layout editor. It is used to position all the elements on the template.
3. Preview Main Tab
Once the content and layout is defined, this tab can be used to load your template with live data from Epos Now so that you can preview what the template will look like.
Content & Settings
The content and settings tab has all the settings for defining the size and content of the template.
Please note that if you are creating the template for the first time, or if you have added or deleted some content, then you must save before the elements are updated in the layout editor.
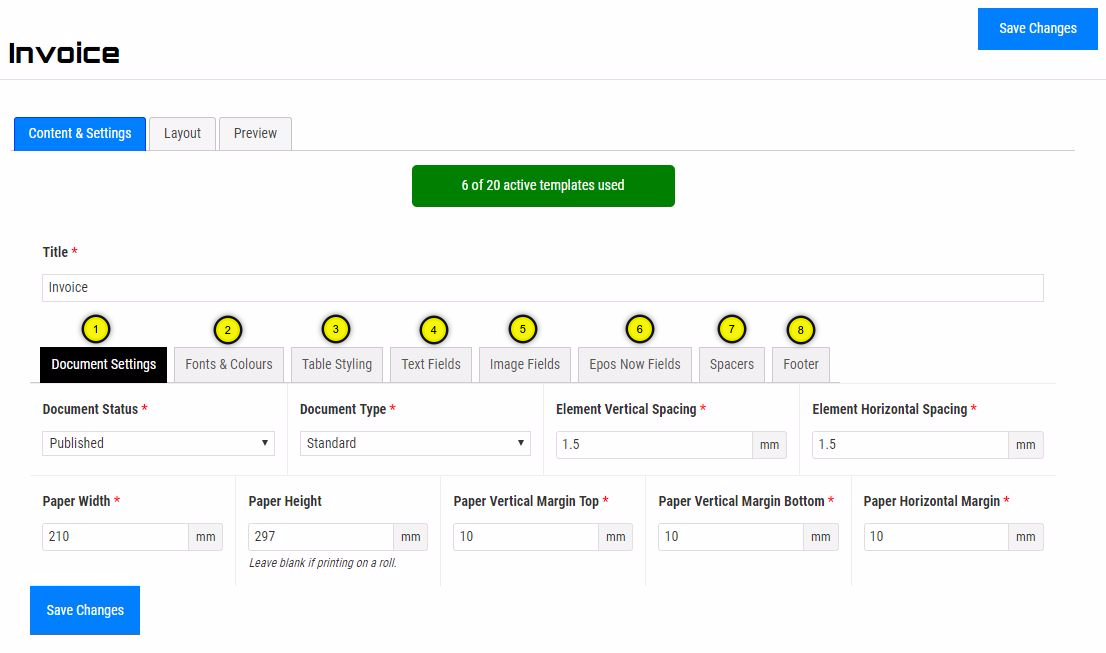
1. Document Settings
Define the paper size, spacing and template status.
2. Fonts & Colours
Define the fonts and colours to use in the template.
3. Table Styling
Define the styling of any tables used in your template.
4. Text Fields
Set the content of any text fields used in your template.
5. Image Fields
Set the content of any image fields used in your template.
6. Epos Now Fields
Define which Epos Now fields you would like to use in your template.
7. Spacers
Define any spacers that you would like to use in your template.
8. Footer
Define the content of the footer. Please note that for standard document types, the footer is only shown at the bottom of the first page. For ticket document types, the footer is shown at the bottom of each ticket.
Document Settings
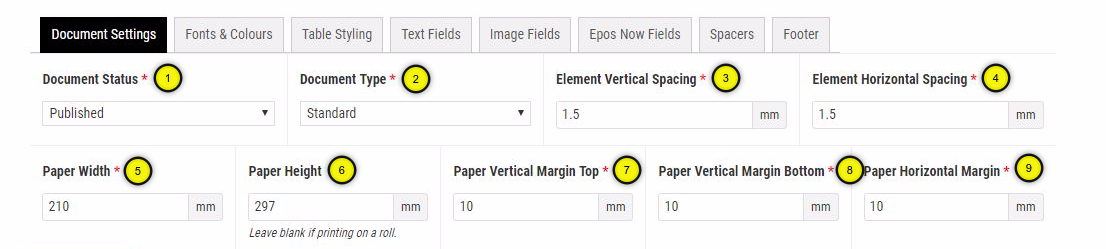
1. Status
Set the status to published when you are ready to make your template available for use in the Epos Now system. Leave it in draft status if you would like to continue working on the template without making it available to Epos Now yet.
2. Type
If you would like to create one page per order item, then select ticket as the type. If you have 3 items in the order, then 3 pages will be printed out for this template.
For all other fields, see the image above showing each setting visually.
Please note that it is very important to set the paper width and height accurately for the paper type you will be printing on in order for the elements to be positioned correctly. In your printer settings, please set the margins to zero as the paper margins set in our template will then be used correctly.
Fonts & Colours
You can set the fonts and colours to be used in your template.
Slynk uses the open source Google Fonts library. To request a font style to be added to our list, please email help@slynk.io.
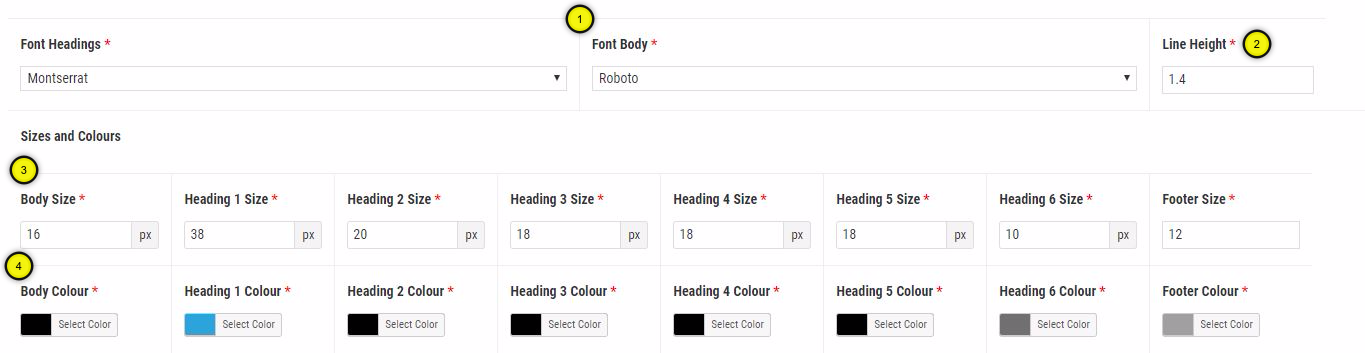
1. Font Style
Select the Google font to use for headings and for the body, which means any text on the document that is not a heading.
2. Font Size
Set the size of the font for the body and each heading type.
3. Font Colour
Set the colour of the font for the body and each heading type.
Table Styling
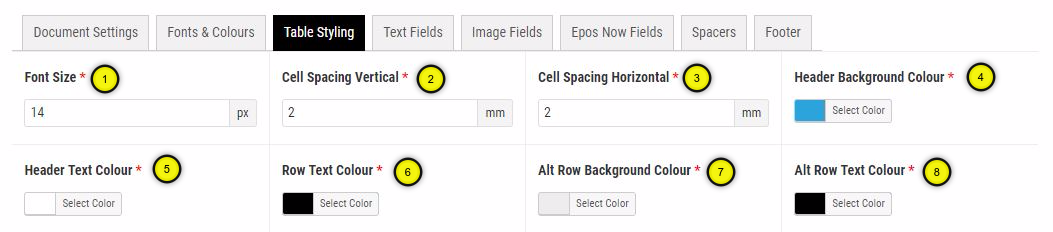
1. Font Size
The font size to be used for the text in the table including the table header.
2. Cell Spacing Vertical
The space above and below the text in each cell of the table.
3. Cell Spacing Horizontal
The space to the left and right of the text in each cell of the table.
4. Header Background Colour
The background colour to be used for the table header.
5. Header Text Colour
The colour of the text to use for the table header.
6. Row Text Colour
The colour of the text for each row.
7. Alt Row Background Colour
Alternate rows, every second row, can have a different background colour to allow for easy identification of each row.
8. Alt Row Text Colour
Alternate rows, every second row, can have a different text colour to allow for easy identification of each row.
Text Fields
You can add as many text fields as you like.
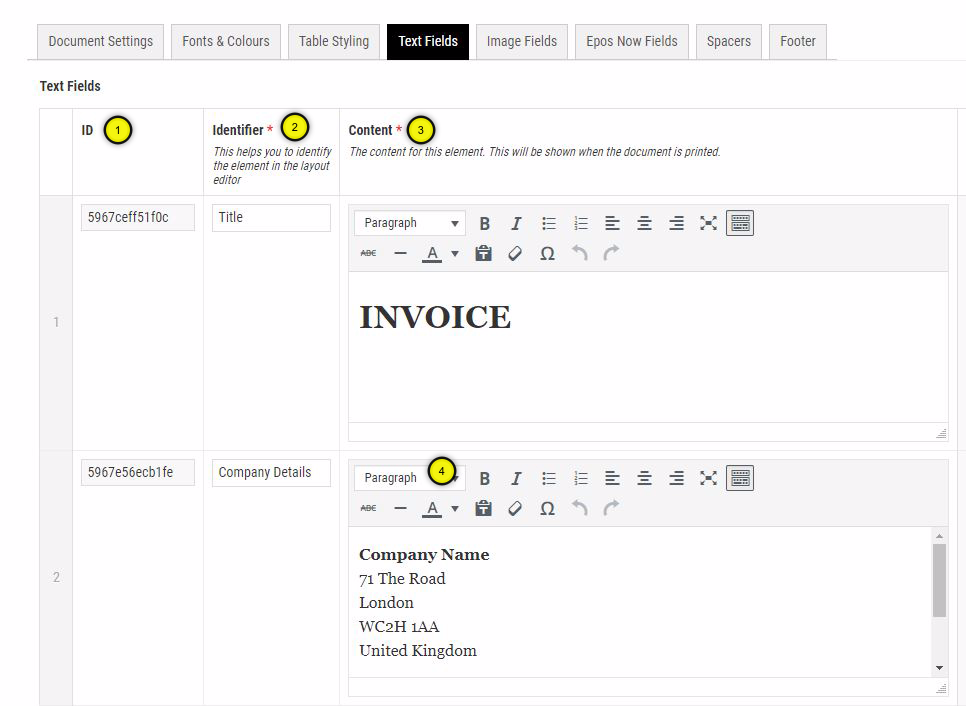
1. ID
This is an internal identifier that is automatically generated and cannot be edited.
2. Identifier
Set the name for your text element here. This is used to identify this text element in the layout editor. This is only used for identification in the layout editor so you can set it to whatever you need. It will not be printed on the template.
3. Content
Type in the content for your text field. You can set the text as bold or italic, change the alignment of the text, and set the colour of the text using the controls in the content area. Be careful when pasting text here, especially when copying from your browser or Word. It is best to paste it into a plain text editor first and then copy and paste into this content area.
4. Text Style
Highlight the text for which you wish to change the font style and then use this dropdown to set the text style for the selected text. This will then use the font, size and colour defined in the Fonts & Colours tab. The colour can be set specifically for this text content using the text colour control in the content area.
Image Fields
You can add as many images to your template as you wish.
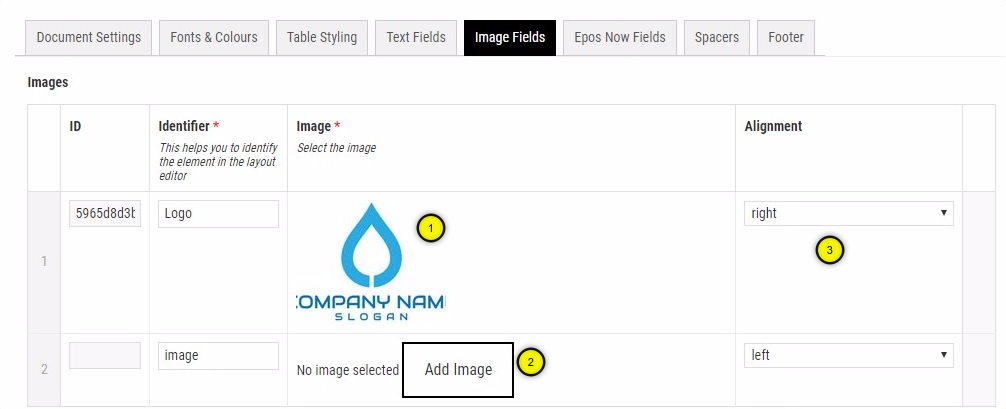
1. Image Preview
A preview of the image is shown here. To replace an existing image, click on the image and you will then be able to select another image.
2. Add Image
Click to add a new image to your template. You will be able to choose from images you have already uploaded, or upload a new image.
3. Alignment
Set how the image should be aligned.
Epos Now Fields
You have access to a wide variety of the Epos Now fields related to an order. You can add as many of these fields into your template as required.
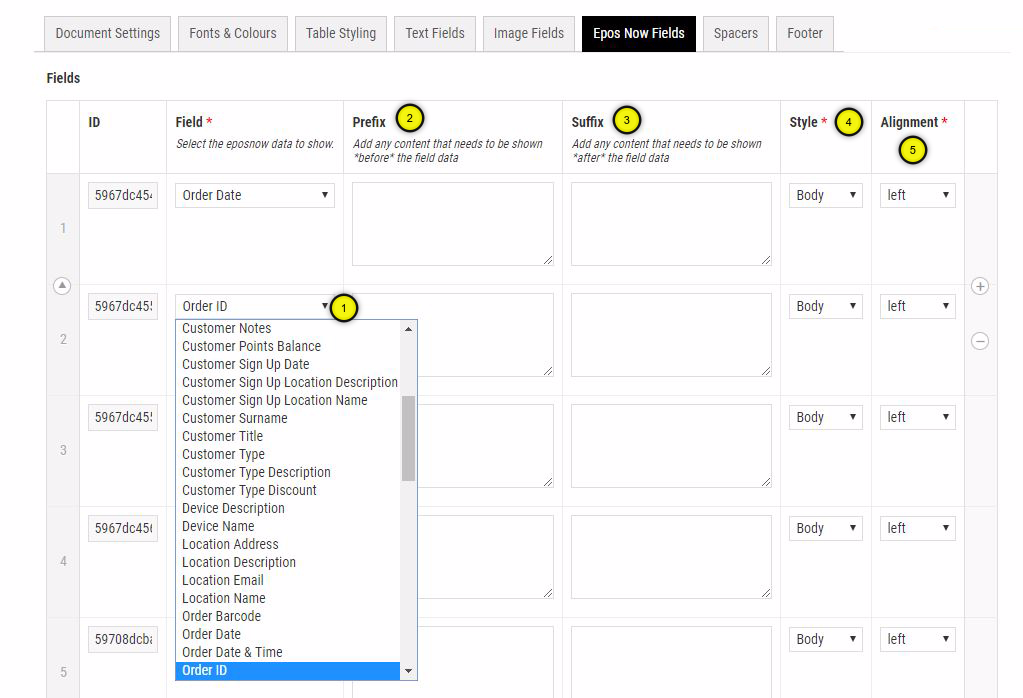
1. Epos Now Field Name
Select the field you would like to add to your template from the list.
2. Prefix
Add any text that you would like to be added before the data for the field. For example, if you wanted to add a prefix before the order number, you could set the prefix to Your order number is. This would then be printed on your template as Your order number is 0123456, where 0123456 is the order number.
3. Suffix
This works the same as the prefix, except that the text is added after the data for the field.
4. Style
Select the text style that should be used for this field, including prefix and suffix. This will then use the styling set in the Fonts & Colours tab.
5. Alignment
Set the alignment that should be used for this field, including prefix and suffix.
Order Items Table
You can add tables for the items purchased in the order. You can add as many columns for the order item data as you like and change the order in which they appear in the table. One row will be added for each item in the order.
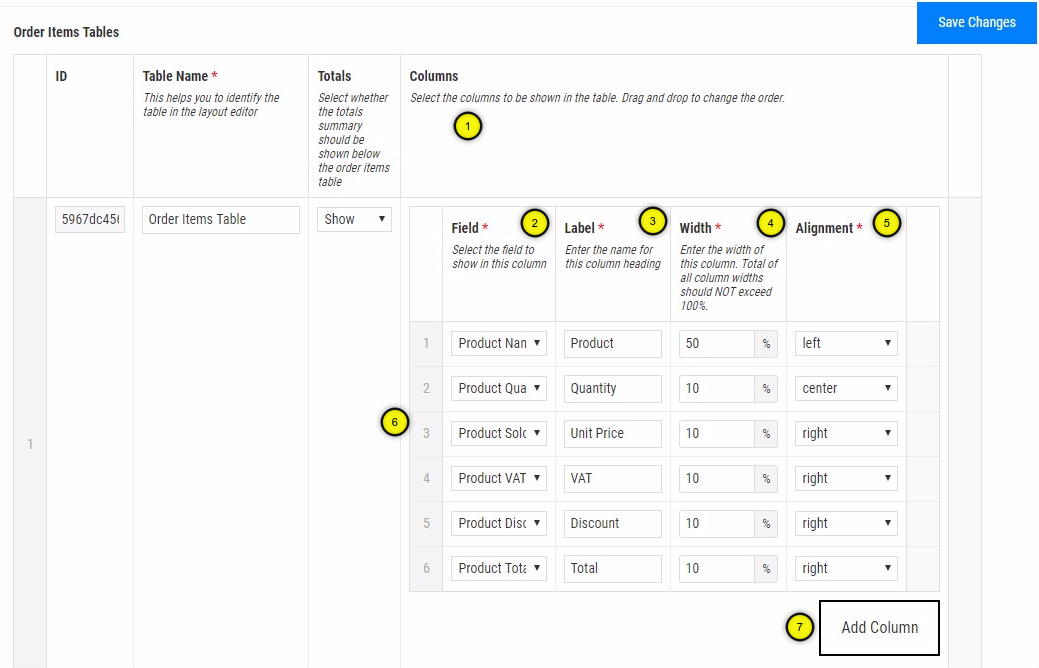
1. Columns
Add or edit the columns that you would like to show in the table.
2. Epos Now Field
Select the field you would like to add to your table from the list.
3. Label
Enter the label for this column. This will be displayed in the table header for this column.
4. Width
Enter the width in percentage for this column. The total of all the widths for all the columns should not exceed 100%.
5. Alignment
Set the alignment for the text for this column.
6. Column Order
You can drag and drop to change the order of the columns in the table.
7. Add Column
Click this button to add a new column.
8. Delete Column
To delete a column, hover your mouse cursor on the right side of the column and click on the minus icon.
Order Summary Table
Order summary tables are used to display the tax summary or the tenders summary for the order.
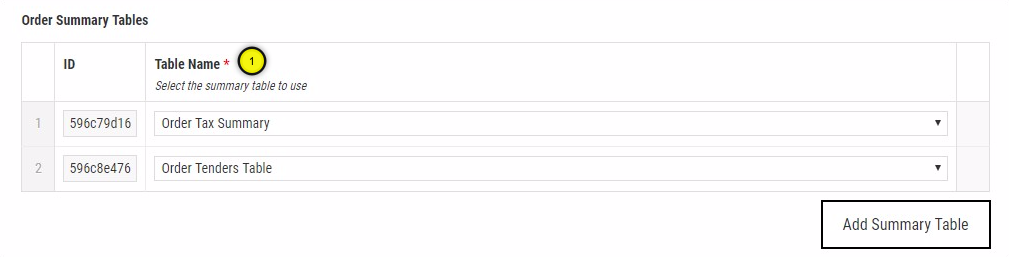
1. Summary Table
Select the summary table to add to your template.
Spacers
It is very useful to be able to add some vertical spacing between elements in your layout. You can add as many spacers as you like and then position them in your layout to achieve your desired design.
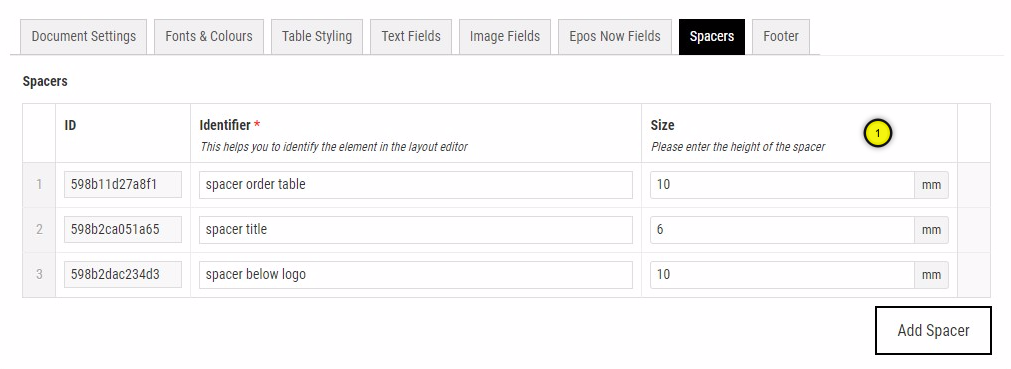
1. Height or Size
Define the height of the spacer in millimetres.
Remember to give your spacer a unique identifier so that you can easily identify it in the layout editor.
Footer
Please note that for standard document types, the footer is only shown at the bottom of the first page. For ticket document types, the footer is shown at the bottom of each ticket.

1. Footer Content
Enter the content that you would like to be shown in your footer.
2. Alignment
Set how you would like the footer content to be aligned on the page.
3. Spacing
The footer is shown at the bottom of the page. Set the distance from the bottom of the page from where the footer should be printed. It is advisable to have this value less than the paper vertical margin bottom setting in the Document Settings tab to prevent overlapping.