Layout & Preview
Use Layout to build the structure of your document and Preview to see it rendered with order data. You can move between tabs without saving first. Changes are not saved or published until you select Save & build.
Layout
Add a row
At the bottom of the layout, choose an arrangement under Add a row. You can use one, two, three or four columns, including unequal-width arrangements. The numbers under each option describe the column proportions.
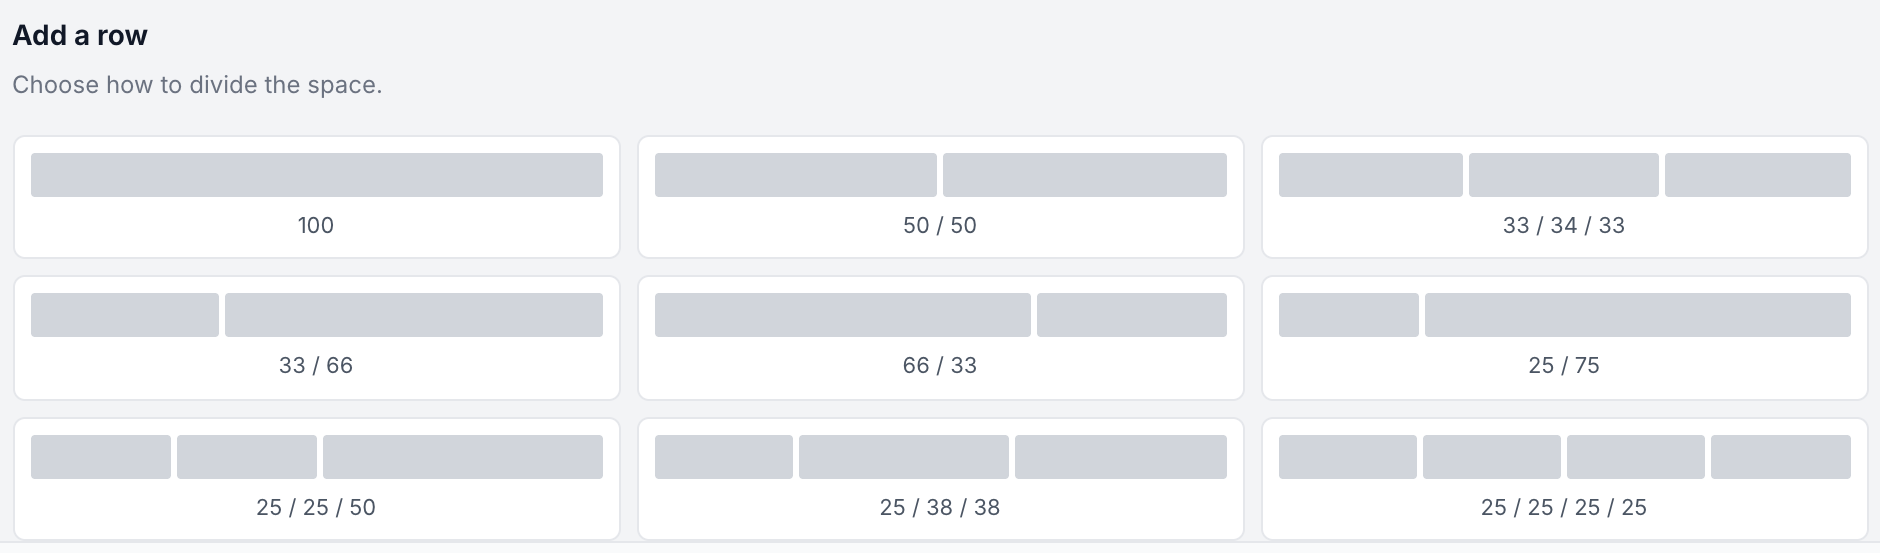
Rows run from top to bottom. Blocks within a column run from top to bottom. On a small screen, the editor stacks columns to keep the controls readable; this does not change the document's column arrangement. Use Preview to check the output.
Add and edit blocks

- Choose a block type from Add elements.
- The editor opens in a drawer on the right. Enter the block's content and settings.
- Under Position in document, select a row and column. New blocks start as Unused — not shown in document until you place them.
- Select Done to return to the layout. This closes the drawer; it does not save or publish the template.
Select a block's name on the layout to reopen its drawer. The icon and colour identify its type; Epos Now fields use readable field names rather than internal identifiers. Changes to a field update the editor when you leave that field.
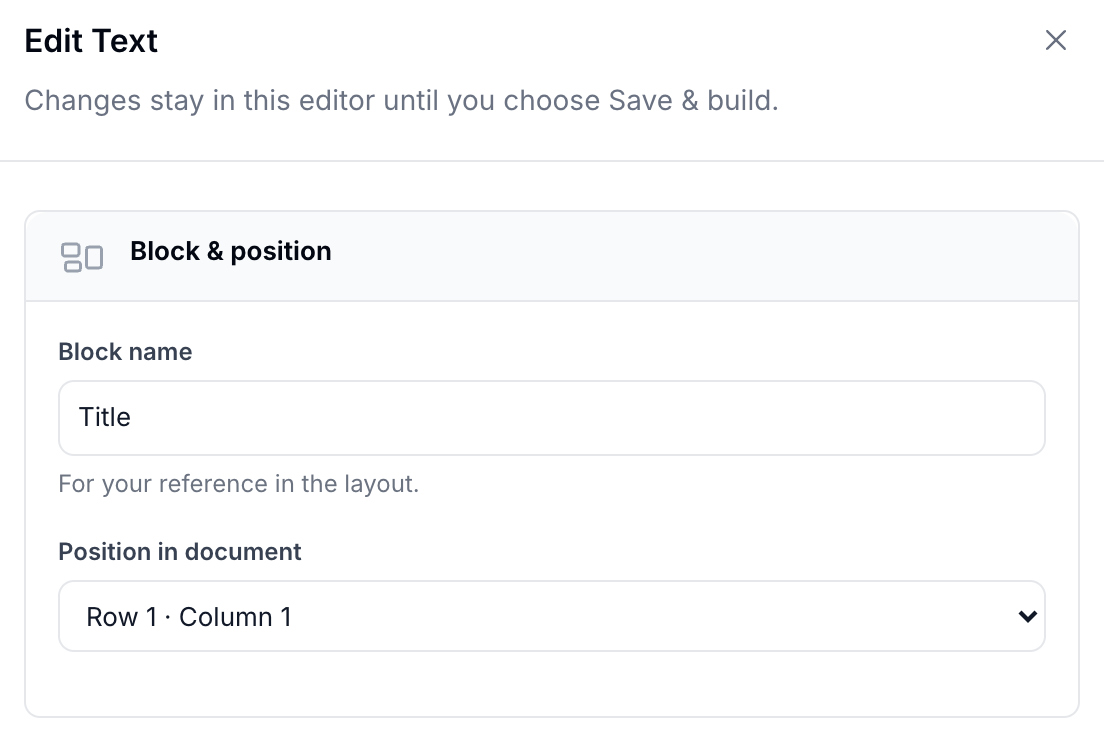
You can also drag blocks into a column. The Position in document selector is an alternative when using a keyboard or touch screen.
For each block type's controls, see Settings & Block Content.
Arrange rows and blocks
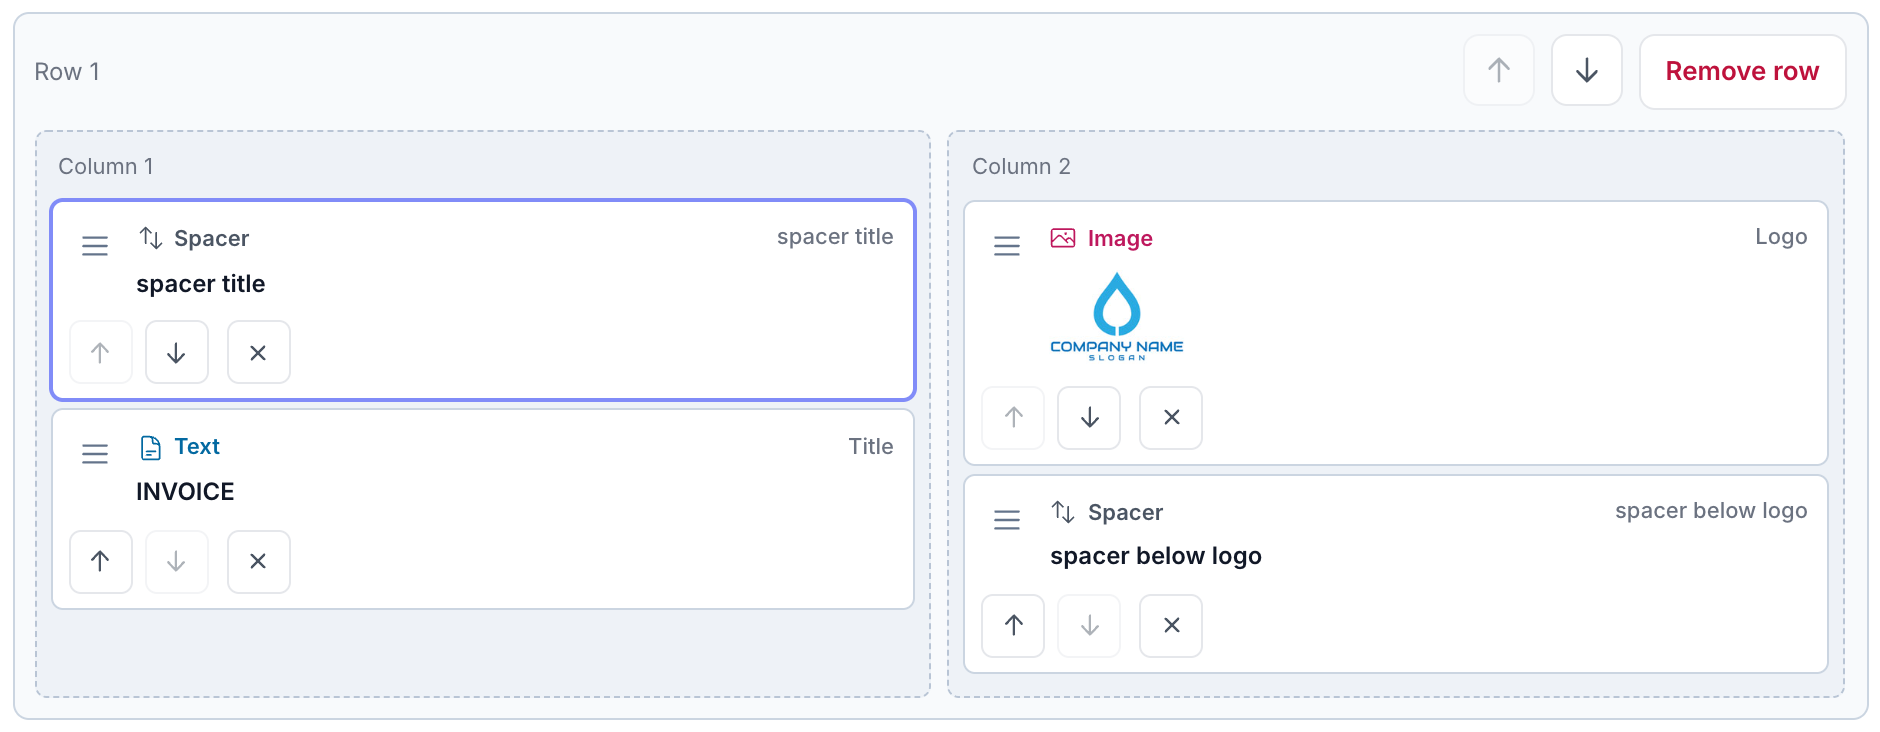
- Use a block's up/down arrows to change its order within the column.
- To move it to another column, drag it there or change Position in document in its drawer.
- Use the row arrows to move an entire row.
- Remove row removes the row after confirmation and keeps its blocks under Unused blocks.
- A block's × removes it from the layout but keeps it under Unused blocks.
Keep a block for later
Unused blocks are saved with the template but are not included in its output. Select one to edit it and choose a position, or drag it into a column.
To remove a block completely, choose Delete block in its drawer and confirm. This deletes the block from the editor rather than keeping it for reuse. Save the template to persist that deletion.
Preview Template
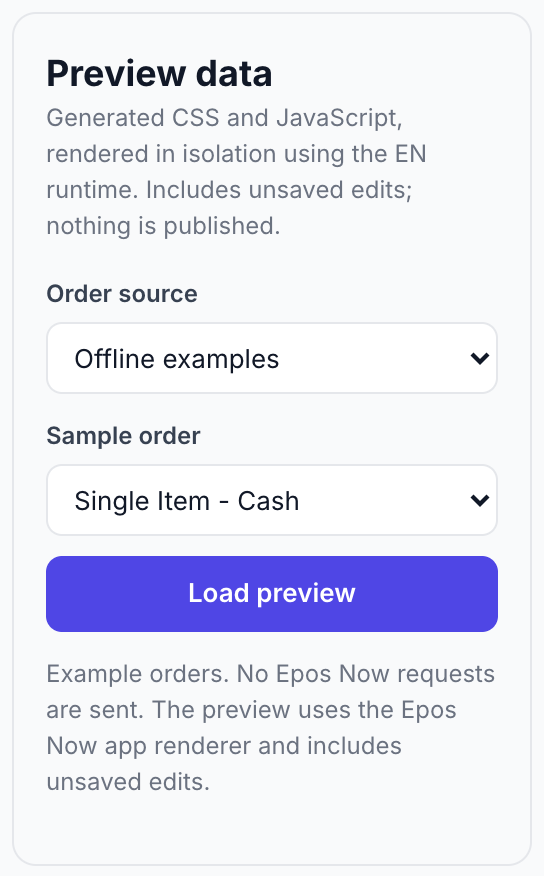
Preview renders the generated template CSS and JavaScript in isolation using the EN runtime. It includes your unsaved editor changes, so you do not have to publish or rebuild the saved template just to check a change.
Preview with your own orders
- Set Order source to Your Epos Now orders.
- Select the Account location.
- Choose an order from Recent orders, leave Latest order selected, or enter a specific order ID.
- Select Load preview after choosing the order.
Location names are shown when available; otherwise the location ID is shown. The recent-order choices populate when account order data loads.
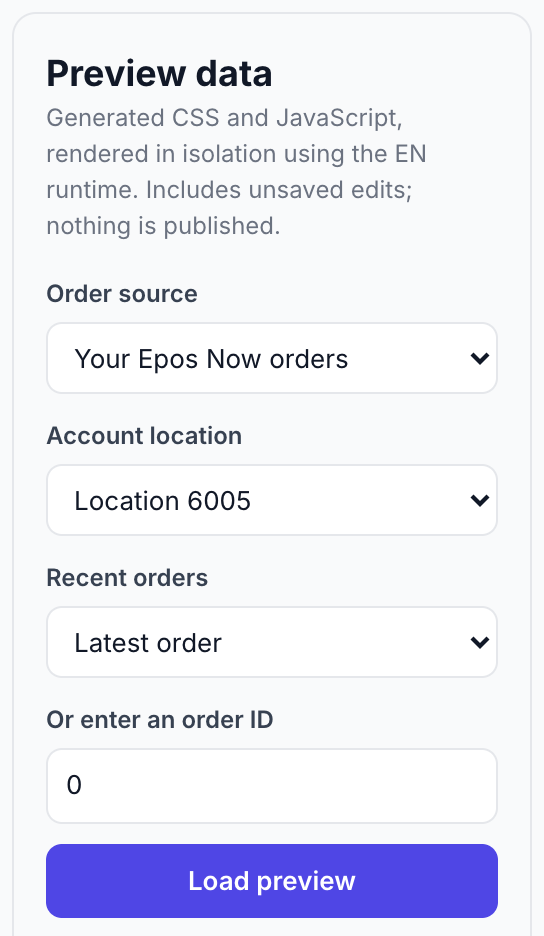
Preview reads the selected account's order data. It does not print, modify Epos Now orders or publish your template. To print a saved, published template, use Open App or Epos Now.
Preview with example orders
Choose Offline examples, select a Sample order, then choose Load preview. Examples cover measured products, grouped items, guest customers and different payment methods. This mode does not request orders from Epos Now.
Check before publishing
- Check long product names, addresses, totals, tax and tender summaries.
- Try short and longer orders, and any measured/grouped items your business sells.
- Check the paper size, margins and spacing in Settings.
- External fonts are currently blocked in the editor preview. If the selected font is unavailable, the generated fallback is used. Check the final font and page breaks on your actual printing device before relying on the document.
The layout canvas is an editing aid, not a print preview. Browser and printer settings can affect pagination, so do not use the canvas's row outlines as page boundaries.
Next Step
Set Status to Published in Settings → Document settings, then select Save & build. To keep working without making the template available to staff, leave it as Draft / inactive and save.