Create Your First Morph
Every morph starts by selecting a template.
You do not create a completely blank morph first. Instead, you choose a starting point and then adjust the morph in the editor before you activate it.
Start from the Morph Dashboard
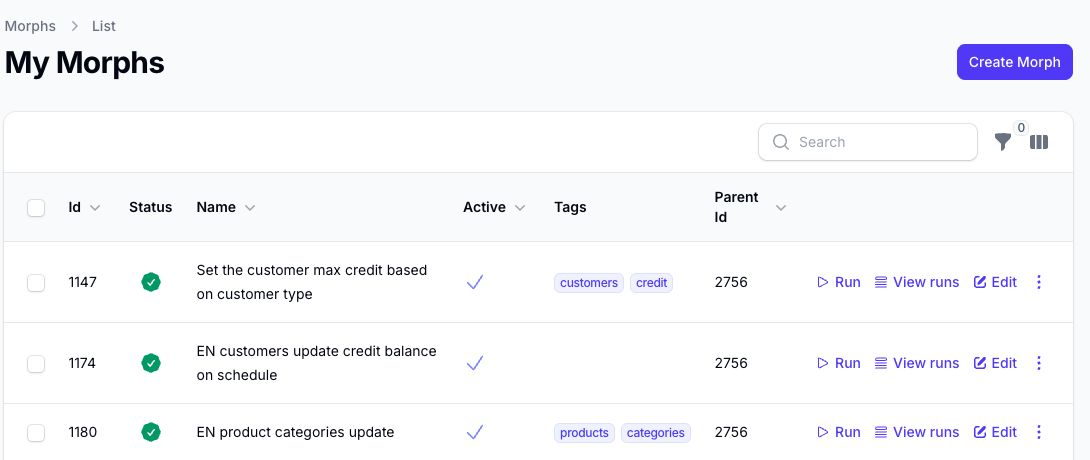
Open Morph in the Slynk dashboard.
From here, you can create a new morph.
Choose a Template
When you click Create Morph, Morph shows the available templates that you can use as a starting point.
There are filters and search tools to help you find the right template.
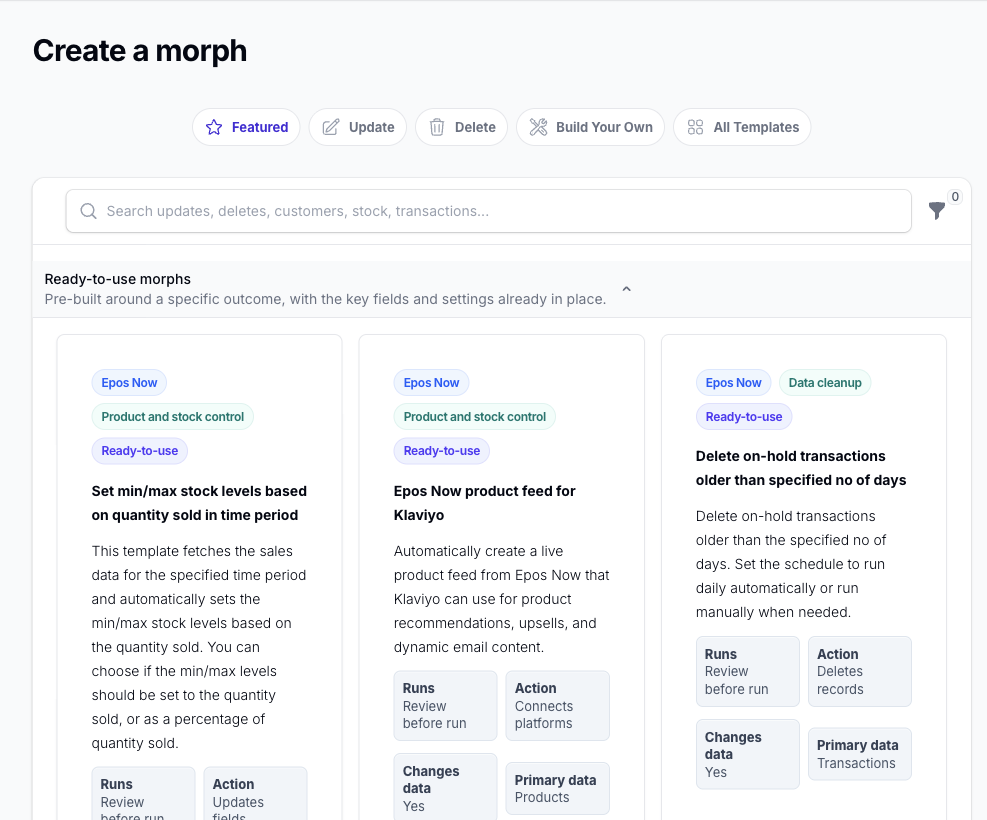
Choose a ready-to-use morph when you want a pre-configured starting point for a particular outcome.
Choose Build Your Own when you want a simpler starting point for a data type and more control over the filters and actions.
Morph also has a separate Solutions page for multi-flow solutions. To understand the available starting points in more detail, see Templates and Solutions.
Review and Customise the Morph
After selecting a template, Morph creates your morph and opens the editor so you can review it and customise it.
The editor is split into the main areas below and we recommend going through the links below to get an understanding of the settings in each section:
How Morph Works
Each morph has three core stages:
- Fetch Morph fetches the data type defined by the template, for example products, transactions, or customers.
- Filter You define which records should pass through.
- Actions You decide what should happen to matching records, such as updating data via API or deleting data via API.
When a morph runs, successful actions and successful app runs count toward your plan allowance. You can read more in Actions and Usage.
Simulate Before You Activate
Before activating a morph, we recommend that you run a simulation first.
A simulation runs against your live data but does not apply the changes. It is a good way to:
- confirm that the right records pass the filters
- review the actions that would have been applied
- estimate action usage before the morph runs live
Activate the Morph
Before activation, review the summary and confirm that it matches what you want the morph to do.
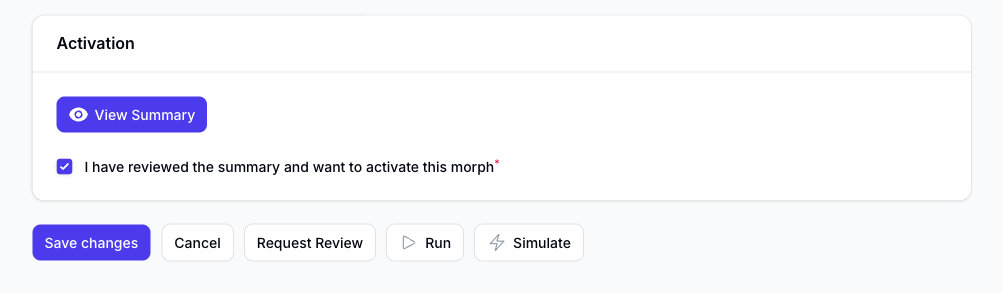
If you want us to review a Morph, you can use the Request Review action in the edit screen which automatically creates a support ticket on our side for one of our team to have a look at the Morph.
Next Step
Continue with the Edit Morph section for the detailed setup pages.